Macro photography opens up a mesmerising world of details invisible to the naked eye, transforming tiny subjects into captivating visual stories. Whether you’re fascinated by the intricate patterns on a butterfly’s wing or the perfect symmetry of a dewdrop, mastering light is the crucial element that separates amateur snapshots from breathtaking macro images. This specialised form of photography requires both technical skill and artistic vision to reveal the hidden beauty of the miniature world around us.
Understanding Macro Photography Basics
At its core, macro photography involves capturing subjects at life-size or greater magnification. The term Macom is often confused with macro photography, but whilst they sound similar, macro specifically refers to close-up photography where the subject appears at least as large on the sensor as it does in real life. This 1:1 magnification ratio is the defining characteristic of true macro photography, though many photographers also consider close-up images with smaller ratios under the same umbrella.
Essential gear for capturing the miniature world
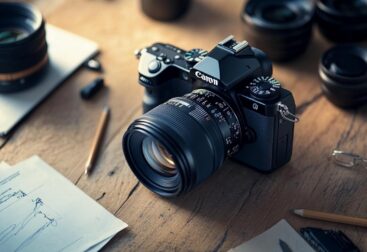
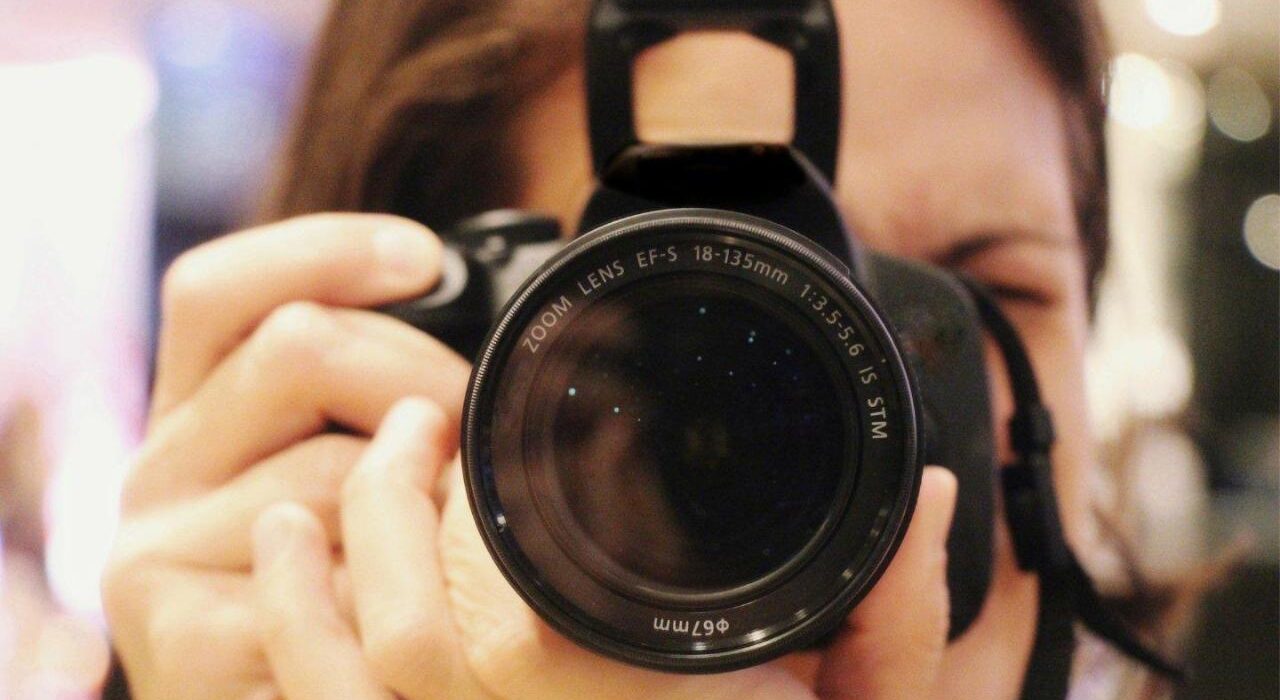
Successful macro photography begins with appropriate equipment. A high-resolution full-frame camera such as the Nikon D850, Canon EOS 5D Mark IV, or Sony Alpha a7 III provides excellent detail rendering essential for this genre. However, the lens is arguably even more important than the camera body. A dedicated macro lens offering 1:1 magnification, like the Nikon Z MC 105mm f/2.8 VR S used by renowned photographer Nigel A Ball, allows you to capture stunning detail without disturbing your subjects. For those without dedicated macro lenses, extension tubes or close-up filters can transform standard lenses into macro-capable optics, though with some compromises in image quality.
Stabilisation becomes critically important at high magnifications, making a sturdy tripod virtually essential. Even slight movements appear dramatically magnified when working close-up, so a stable platform helps maintain sharpness. Additionally, focus rails can be invaluable for precise adjustments when performing focus stacking techniques to overcome depth of field limitations.
The significance of magnification ratios
Understanding magnification ratios is fundamental to macro photography. A 1:1 ratio means your subject appears on the camera sensor at exactly the same size as in real life. The minimum focusing distance of your lens determines how close you can get to your subject whilst maintaining focus. For example, the Sony SEL90M28G FE 90mm f/2.8 Macro G OSS lens has a minimum focusing distance of approximately 13 cm, allowing for impressive close-ups whilst maintaining a reasonable working distance.
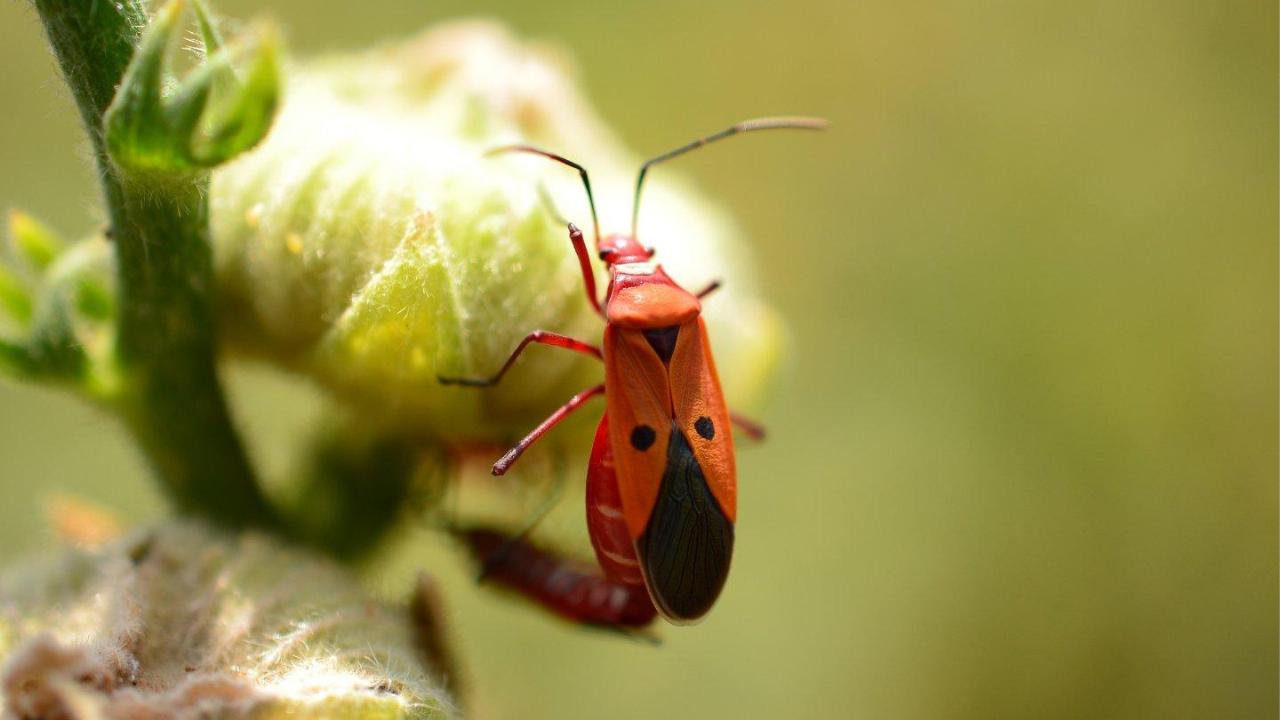
Working distance is particularly important when photographing live subjects like insects. A longer macro lens, such as a 100mm or 105mm, provides more space between you and your subject, reducing the likelihood of disturbing timid creatures or casting shadows. This extra distance has made the 105mm macro lens a favourite among insect photographers who need to maintain separation from their subjects whilst achieving true macro magnification.
Natural Light Techniques for Macro Subjects
While artificial lighting solutions like ring flashes and LED panels offer control, natural light remains the most accessible and often most flattering option for macro photography. Learning to work with ambient light conditions can produce remarkably natural-looking images with depth and dimension that artificial lighting sometimes struggles to match.
Early morning dew and golden hour opportunities
Experienced macro photographers often begin their day before sunrise. Early morning presents unique advantages: insects tend to be less active and more cooperative as they warm up, while dewdrops create magical natural elements that can transform ordinary subjects into extraordinary images. This magical time also offers soft, diffused light that reduces harsh contrast and minimises problematic shadows.
The period after rainfall provides similar opportunities, with droplets clinging to surfaces and insects remaining relatively still. When photographing water droplets, try positioning yourself to capture reflections within them, potentially creating miniature worlds within your macro frame. These moments of natural splendour often require patience but reward photographers with images impossible to create under artificial conditions.
Directing and diffusing sunlight for optimal results
Even with natural light, photographers can exercise significant control through positioning and modification. A simple white reflector can bounce light into shadow areas, creating more balanced illumination across your subject. Conversely, using a small diffuser between your subject and the sun softens harsh direct light, reducing blown-out highlights and overly dark shadows.
For more control over the background, experiment with different shooting angles. By positioning yourself so that darker or lighter elements appear behind your subject, you can dramatically change the mood of your image without moving the subject itself. Look for contrasting colours between your subject and its background to make the main element stand out more prominently. Focus on the eyes when photographing insects, as this creates an immediate connection with viewers, drawing them into your miniature world.